How it works
Scroll through a garage floor as we build it. The gloss is the bit everyone sees. The prep is why it lasts.
BEFORE WE QUOTE
Survey & moisture check
We look at the floor before we price it. Resin magnifies whatever's underneath, so the survey decides the system, the prep and the price.
- Measure the area and note doorways, thresholds, drains and fixed units.
- Test the slab or screed for moisture. Damp substrates need a moisture-tolerant primer or membrane, or more drying time.
- Check for cracks, hollow spots, old paint, adhesive, tiles and contamination like oil.
- Talk through how the space is used, the light it gets and the look you want. Then you get a fixed written quote.
DAY 1
Diamond grinding & repairs
We grind the surface with diamond tooling and vacuum extraction. It removes the weak top layer and old coatings and opens the pores so the resin can bond.
- Furniture is moved or wrapped, and walls, doors and fixtures are protected.
- Diamond grinding removes laitance, paint, sealers and contamination. Edges are done with hand grinders.
- Cracks, joints and holes are filled with resin repair mortar and ground flush.
- Over sound tiles: the surface is abraded, grout lines filled and a levelling layer applied where needed.
- Everything is vacuumed thoroughly. Dust is the enemy of a glass finish.
DAY 1–2
Priming
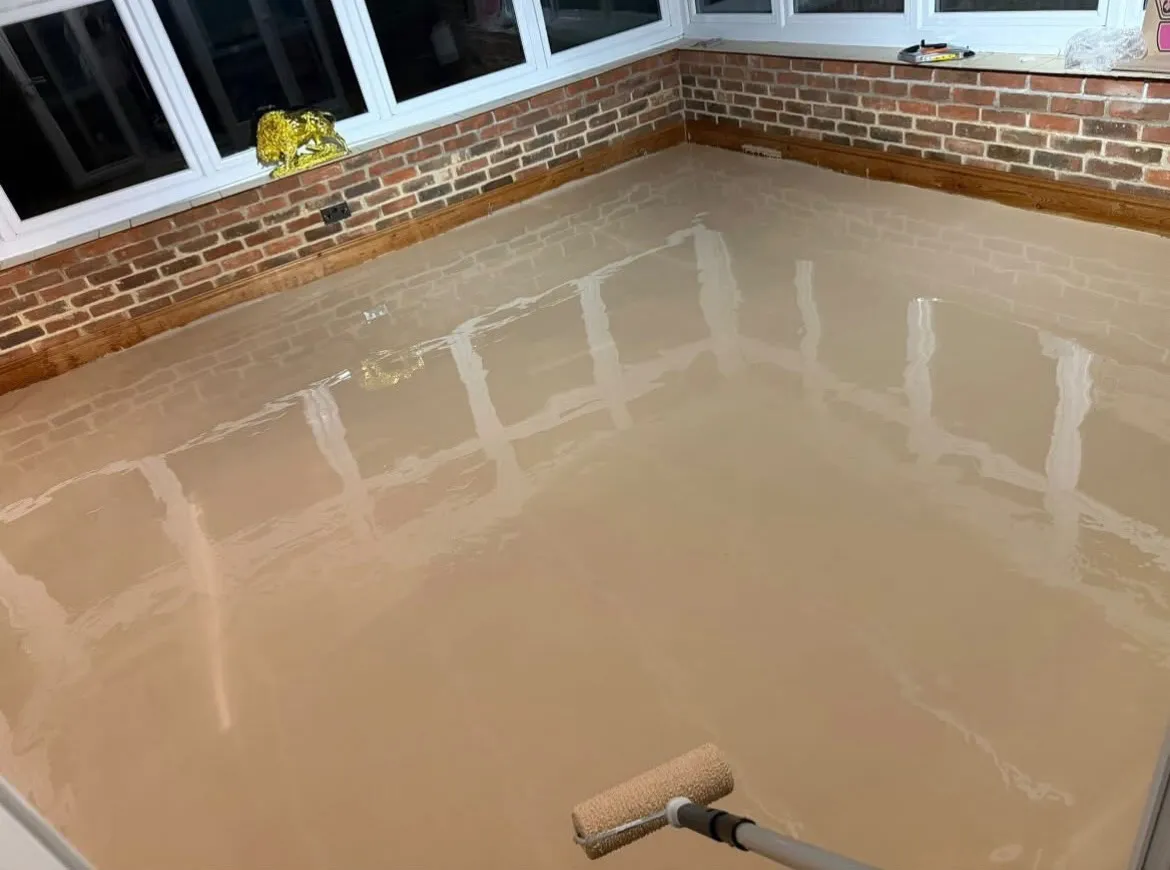
A penetrating epoxy primer soaks into the prepared surface, seals it and gives the body coat a firm grip.
- Priming stops air in the concrete rising through the pour as bubbles and pinholes (outgassing).
- Moisture-tolerant primers are used where readings call for them.
- Primer is left to cure to the right window before the next coat, usually overnight.
DAY 2–3
The pour & manipulation
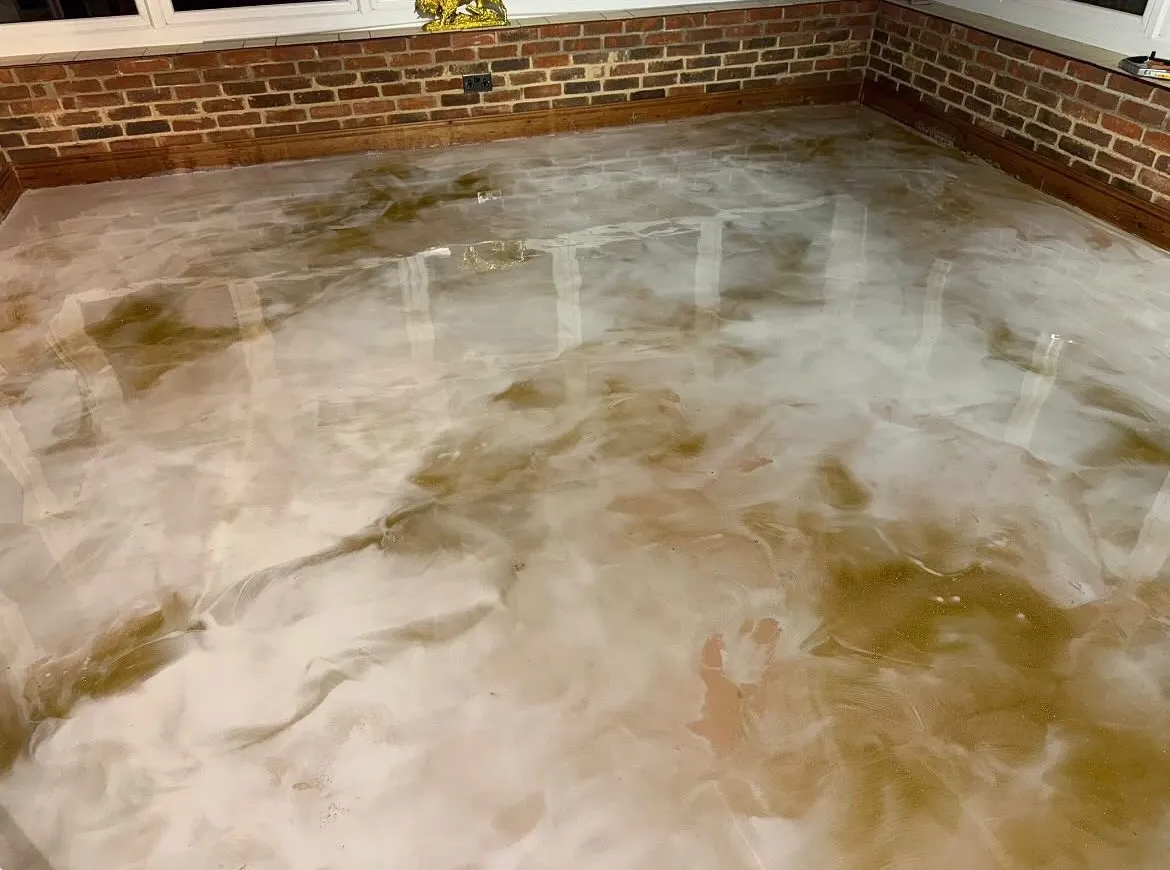
The show. Metallic epoxy is mixed, poured and spread to an even thickness, then worked by hand while it's liquid: veins, swirls, clouds and colour placement.
- Mixes are measured precisely. Resin is chemistry and ratios matter.
- The body coat goes down at a typical 2–3 mm and self-levels.
- Pigment is moved with rollers, brushes, air and spray to build the design you signed off.
- Spiked rollers release trapped air. We work fast and in order, because the working time is short.
- Flake and quartz systems are broadcast at this stage instead.
DAY 3–4
Topcoat & cure
A clear topcoat seals the design and takes the wear. It's chosen for the room: UV-stable for sunny spaces, tougher for garages, anti-slip for wet areas.
- Body coat is checked and lightly abraded if needed before the topcoat.
- Polyurethane or polyaspartic topcoats resist scratches, chemicals and UV yellowing better than epoxy alone.
- Gloss, satin or matt; anti-slip aggregate added where needed.
- The room stays closed while it cures. Warmth helps, and cold slows everything down.
FINAL DAY
Handover & care
We remove protection, check the finish with you and hand over care instructions with dates: when you can walk on it, bring furniture back and drive on it.
- Walk-round inspection together, in good light.
- Written cure dates for foot traffic, furniture, rugs and vehicles.
- Cleaning guide: what to use, what to avoid.
- Felt pads for furniture and advice on mats for entrances and garages.
After the pour
The cure, hour by hour.
Typical figures for our floor systems at around 20°C. Colder rooms take longer; we confirm yours at survey.
0–12 h
Hands off. The topcoat is curing. Keep the room closed, pets and people out, and avoid dust.
~24 h
Light foot traffic in socks or clean soft shoes.
~48 h
Normal foot traffic. Still no furniture dragging or rugs.
~72 h
Furniture can go back, lifted not dragged, with felt pads on the legs.
~5–7 days
Vehicles in garages. Full chemical resistance builds through the week.
~7 days
Full cure. Rugs and mats down, mopping with water and a pH-neutral cleaner, back to normal life.

Ready when you are
Let's pour something nobody else has.
Tell us about the space: room, rough size, the look you're after. We'll come back with ideas, a survey date and a fixed written quote.